Why does reaching for something on a high shelf suddenly feel harder than it used to?
It’s rarely one moment. Shoulder strength fades gradually in the background, and the adjustments happen without much notice, until avoiding the top shelf simply becomes the norm.
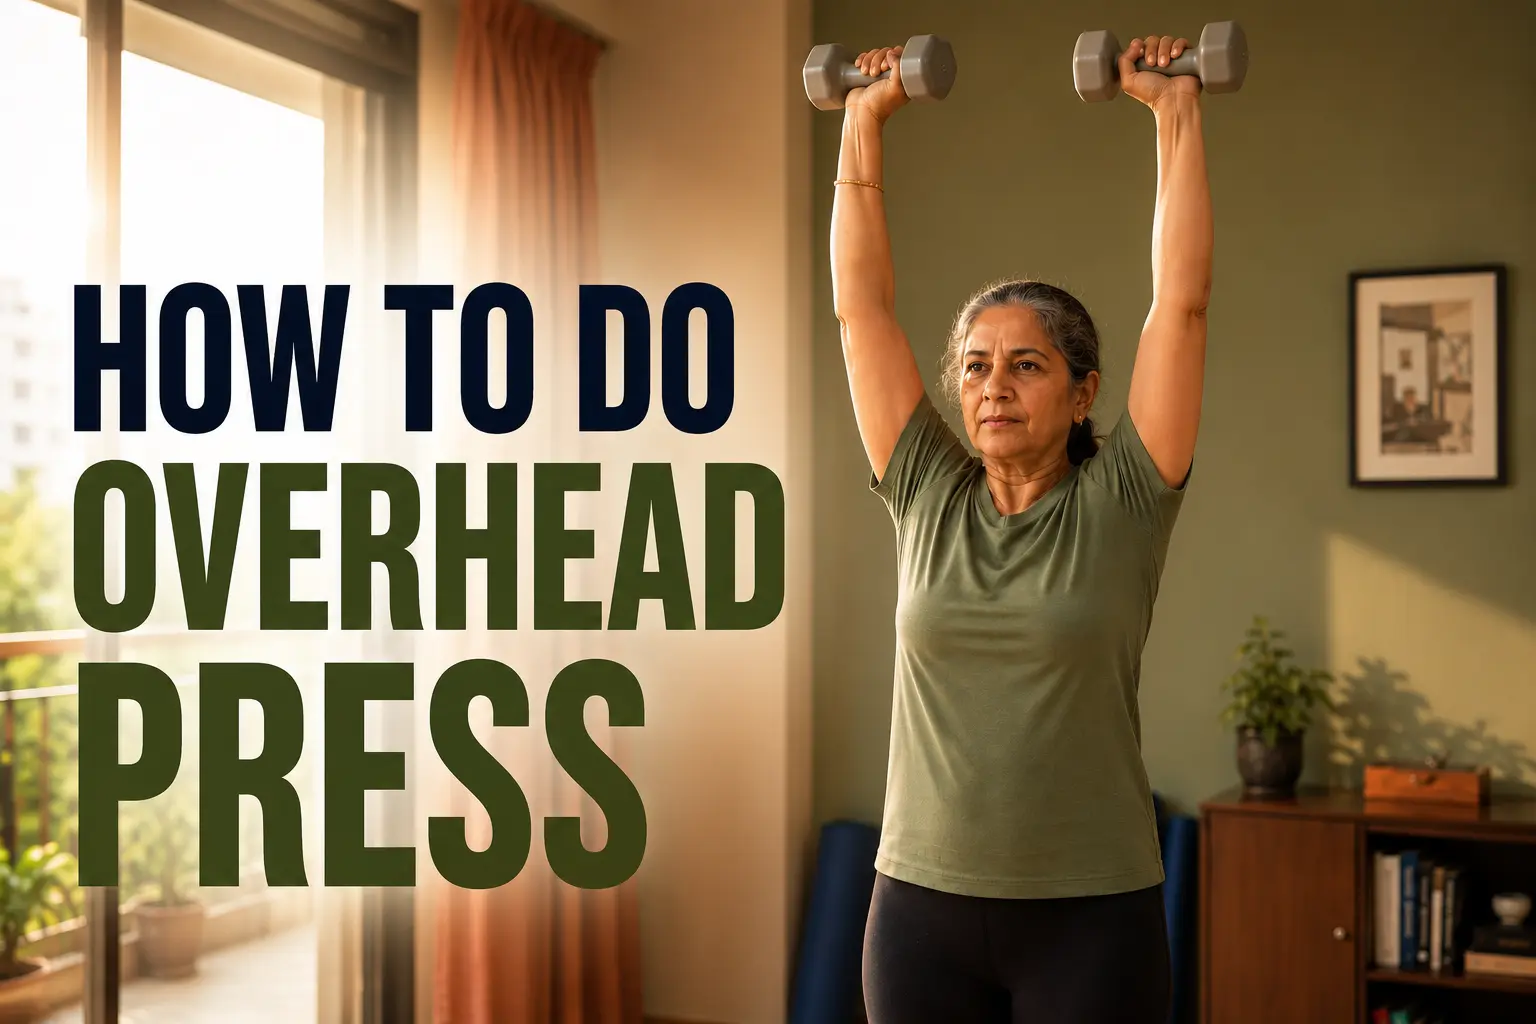
In this blog, we’ll cover how to do overhead press the right way, so reaching stops being something you think twice about.
How to Do the Overhead Press at Home
You don’t need a gym to start. A sturdy chair and a pair of light dumbbells are enough.
Start seated, especially if you’re new to the movement or easing back in, and move to standing once that feels controlled.
1/ Seated Overhead Press
Sit tall on a firm chair with your feet flat on the floor. Hold a light dumbbell or water bottle in each hand at shoulder height, elbows bent, palms facing forward. Press both arms upward slowly until nearly straight, without locking the elbows. Pause briefly at the top, then lower back to shoulder height with control. Aim for 8 to 10 reps per set.
The seated position takes balance out of the equation entirely, so all your effort goes into the press itself.

2/ Standing Overhead Press
Stand with feet shoulder-width apart, knees slightly soft, core gently braced. Hold the dumbbells or water bottles at shoulder height, palms facing forward. Press upward in a straight line until your arms are nearly extended, then lower with control back to the start.
The standing version adds a stability challenge: your core and legs have to hold you steady while your shoulders do the lifting. That makes it a useful progression, but not the right starting point if balance is still a concern.

Seated vs. Standing Overhead Press: Which Is Right for You?
| Aspect | Seated | Standing |
| Balance required | Low | Higher |
| Spinal support | Yes | No |
| Best for | Beginners, those with balance concerns | Those with established shoulder strength |
| Starting recommendation | Yes | Build to this later |
Key form cues for both versions:
- Shoulders back and down: Don’t let them creep toward your ears as you press.
- Controlled pace: Two counts up, two counts down.
- Exhale on the press: Breathe out pushing up, breathe in lowering.
- Neutral wrists: Keep them straight, not bent back.
Starting seated with no weight and building from there, before moving to standing, is the safest and most effective progression.
Recommended Reading:
If you notice shoulder tightness or limited range of motion before starting, these frozen shoulder exercises at home can help restore mobility first.
3 Common Mistakes That Lead to Shoulder Pain
- Pressing in front of the body: The weight should travel directly overhead. Pressing forward shifts the load onto the front of the joint, where it doesn’t belong.
- Shrugging upward: Raising the shoulders toward the ears takes work away from the deltoids and loads the neck instead.
- Starting too heavy: The shoulder joint accumulates wear with age. Seniors (55+) should begin with very light resistance and add load gradually as form becomes natural.
Getting these three things right is what separates a press that builds strength from one that causes a shoulder setback.
Recommended Reading:
If you are starting resistance training for the first time or after a long break, this overview of beginner strength training after 60 covers how to build a safe and sustainable routine from scratch.
How to Do the Overhead Press Safely Depends on How Resistance Is Applied
Even with correct form, traditional weights load the shoulder joint on the way down. This lowering phase is where most shoulder injuries in older adults occur: the muscle is working while lengthening under load, creating more joint stress and soreness.
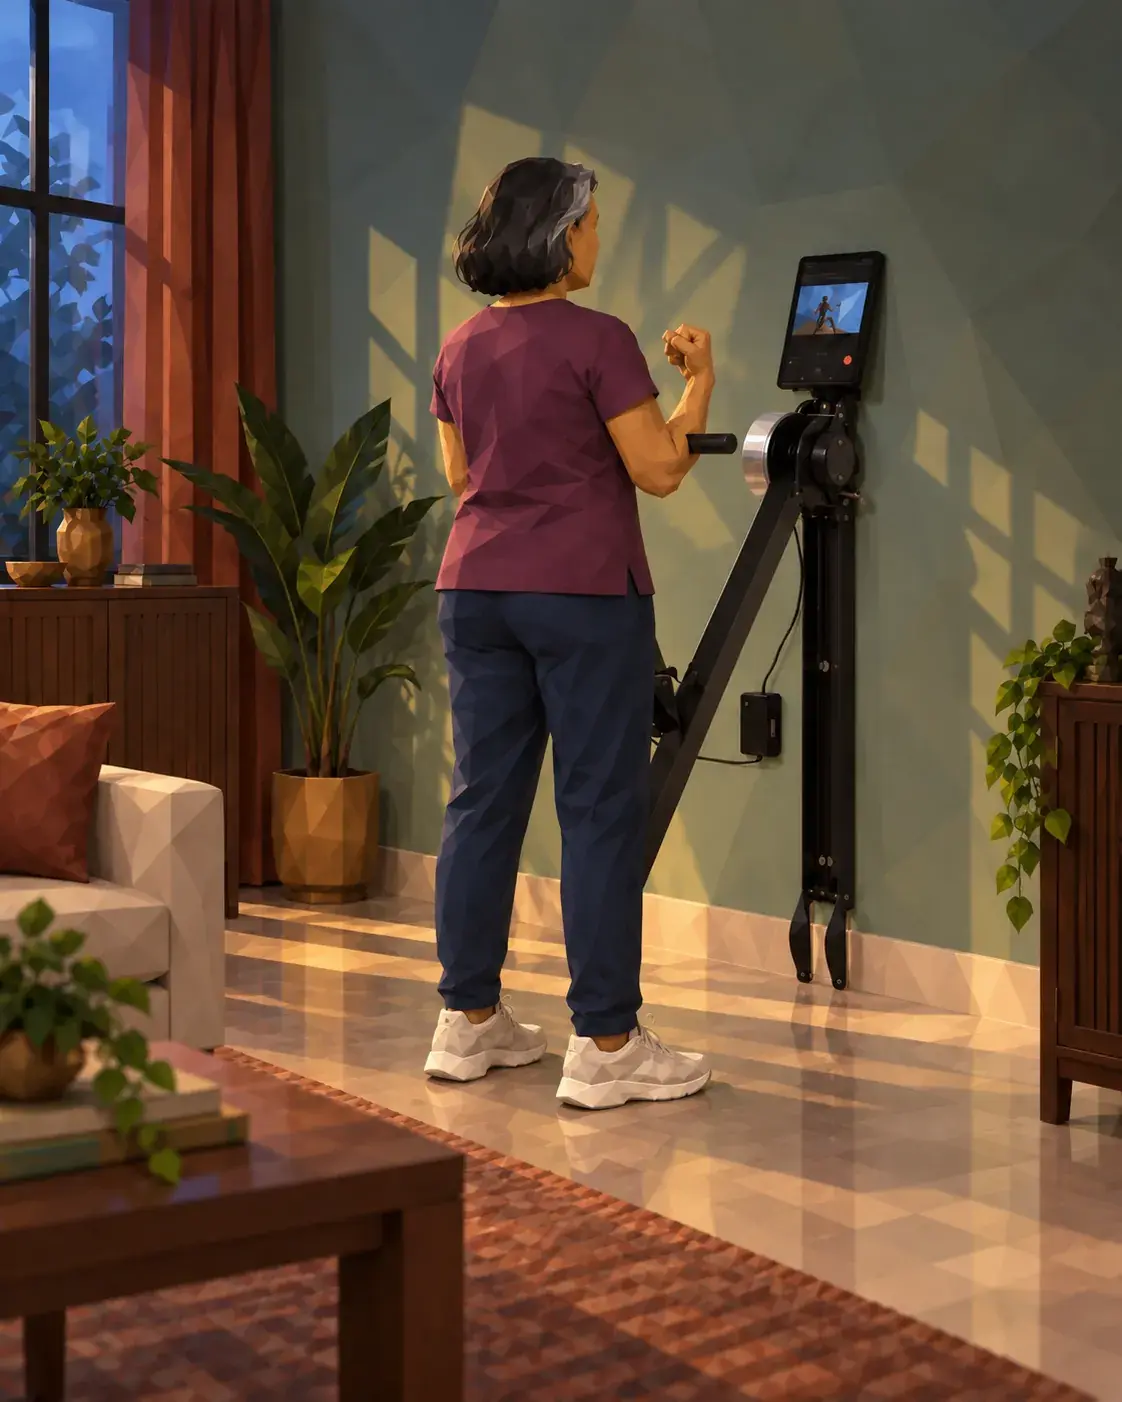
That limitation is what strength training equipment for seniors like Ferra is built around. Ferra uses concentric-only resistance, so the machine resists your upward effort but applies zero load on the way down.
- No load on the way down: Think of it like pushing a car. The moment you stop pushing, there’s no force coming back at you.
- Resistance adjusts automatically: No risk of accidentally starting too heavy.
Check out Ferra and start building shoulder strength that lasts.
Conclusion
The overhead press helps maintain the shoulder strength needed for everyday tasks like reaching, lifting, and carrying. Start with the seated version, focus on good form, and progress gradually as your strength improves. With consistent practice and the right approach to resistance, you can build stronger shoulders and stay independent for longer.
How to Do Overhead Press: Frequently Asked Questions
1/ Is the overhead press safe for people with existing shoulder problems?
It depends on the nature of the problem. For general stiffness or mild weakness, a seated press with light or no weight is often safe and helpful. For diagnosed conditions like rotator cuff tears or impingement, a doctor or physiotherapist should be consulted first. A simple check: raising both arms overhead slowly. If that’s pain-free, a bodyweight press is a reasonable starting point.
2/ How much weight should seniors start with for the overhead press?
No weight at all, with the focus on form first. Once the movement feels natural, the lightest resistance available works best, typically 1 to 2 kg dumbbells.
3/ Does the overhead press help with posture?
Yes. The overhead press strengthens the deltoids and upper back muscles that support upright posture. When these muscles are weak, the shoulders tend to round forward, a pattern that worsens with age. Regular pressing, combined with rowing movements, helps counter this gradually.
4/ How long before overhead strength improves noticeably?
A meaningful difference in shoulder ease and range usually shows up within four to six weeks of regular sessions. The improvement comes from both muscle strengthening and the body getting better at recruiting the right muscles for the movement.

Anurag Dani is the Co-Founder of Ferra, a company dedicated to redefining healthy ageing through strength training. Drawing from his experience building fitness and healthy ageing solutions for adults, he writes about healthy ageing to help readers stay strong and independent as they age.